Wednesday 28 August 2013

Bow clutch bag

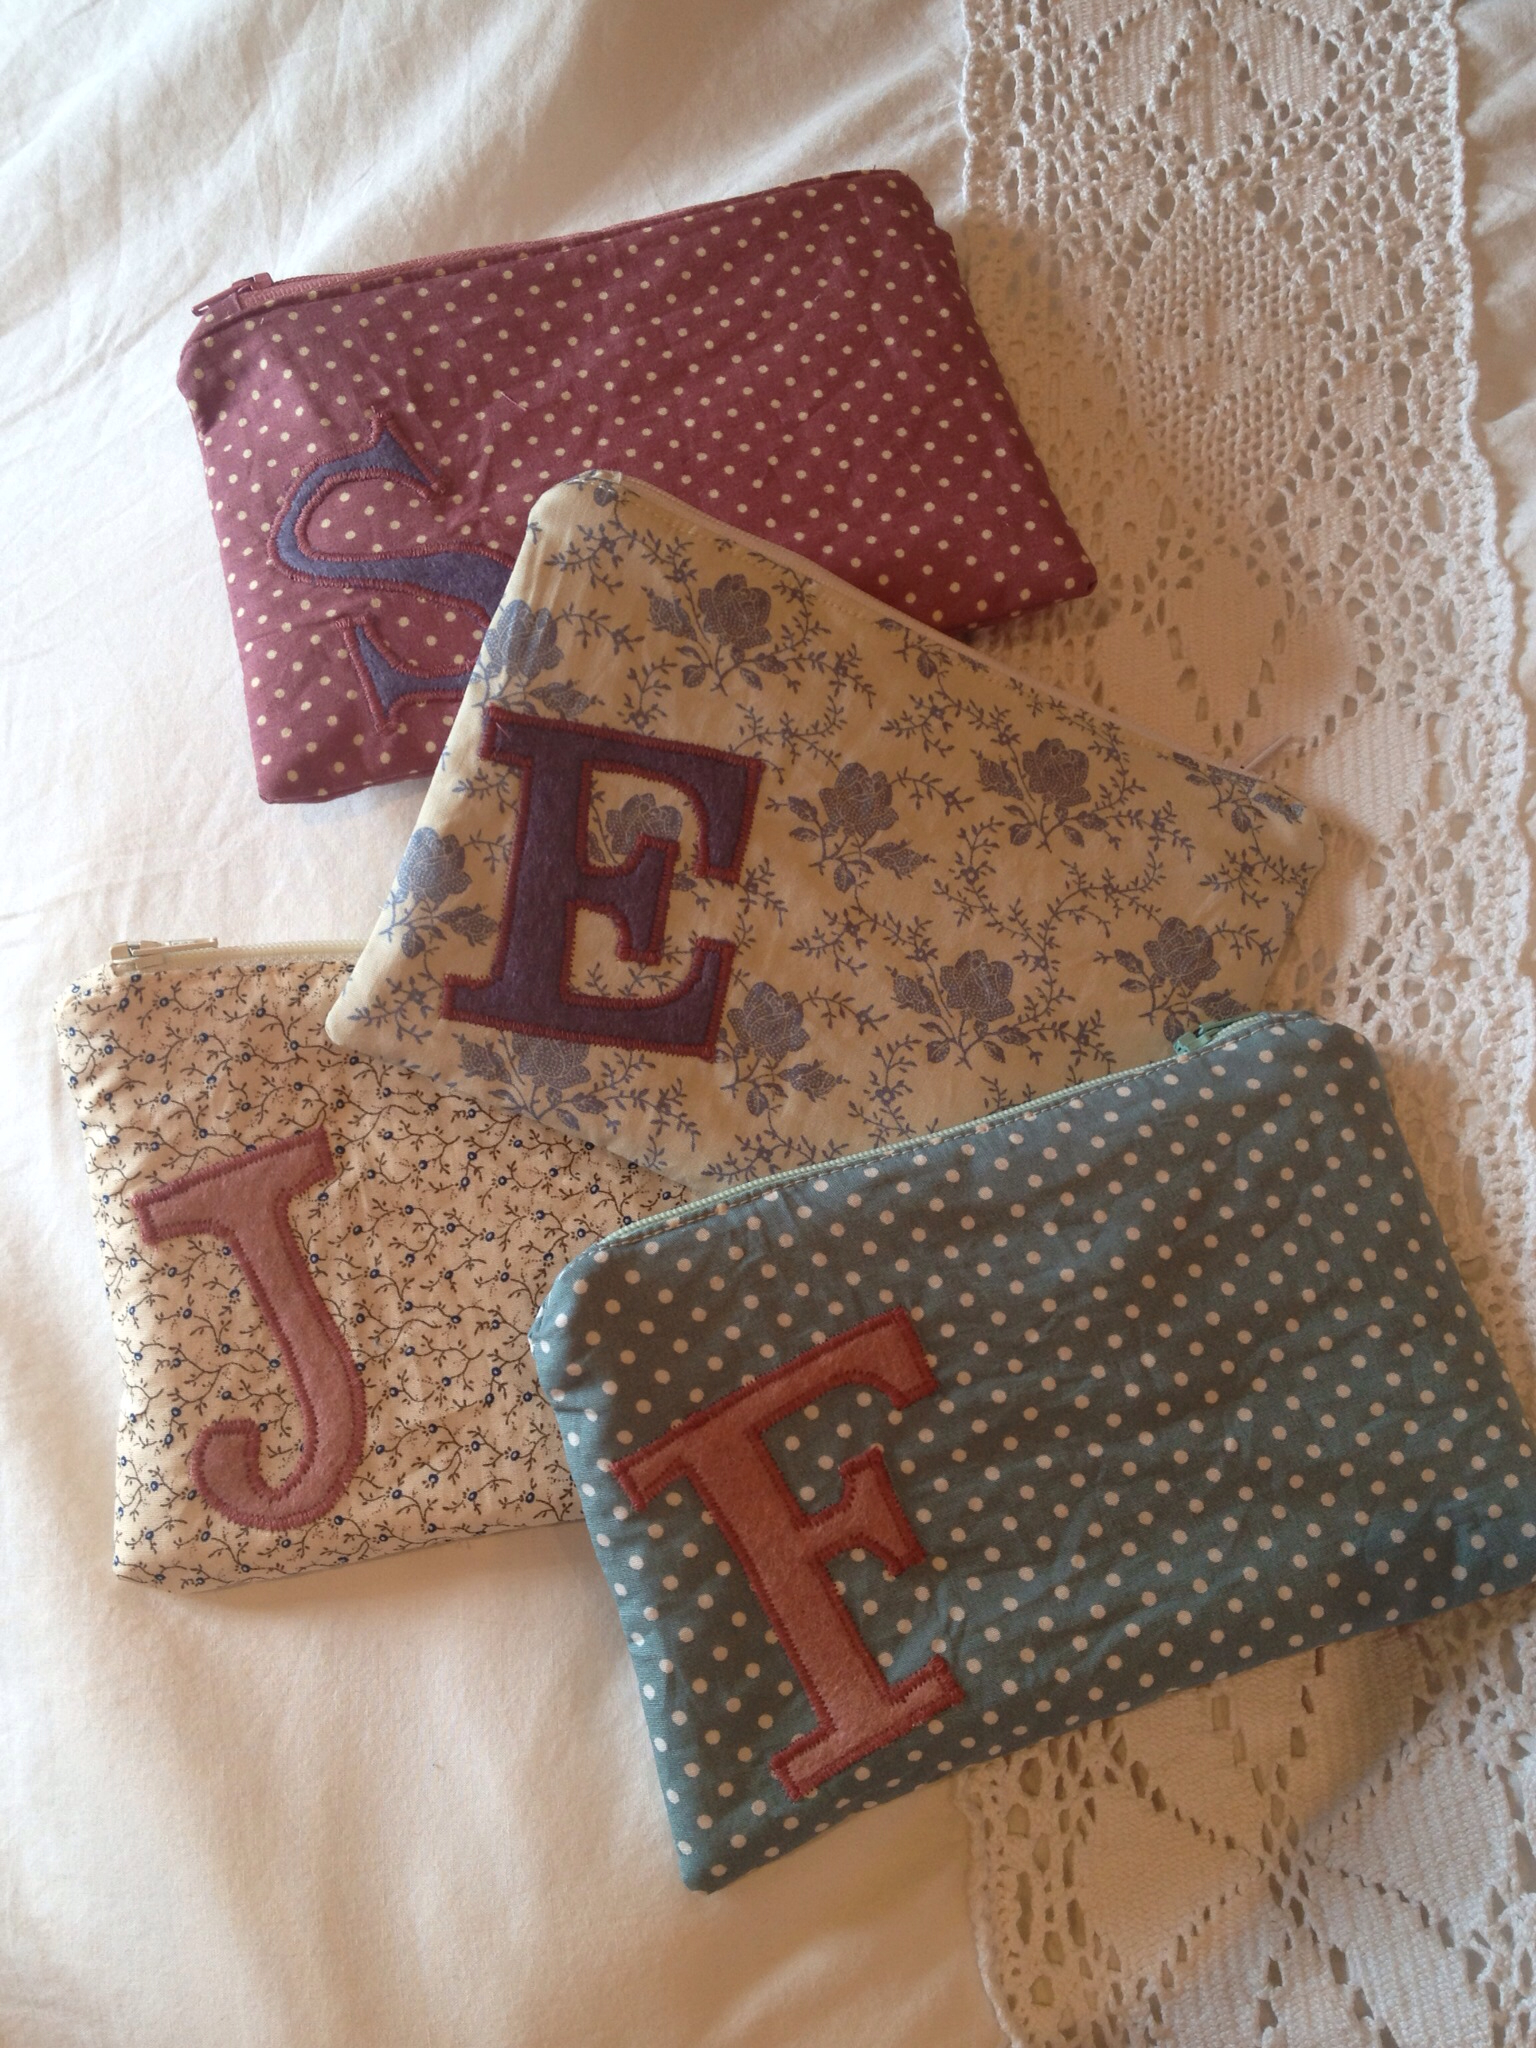
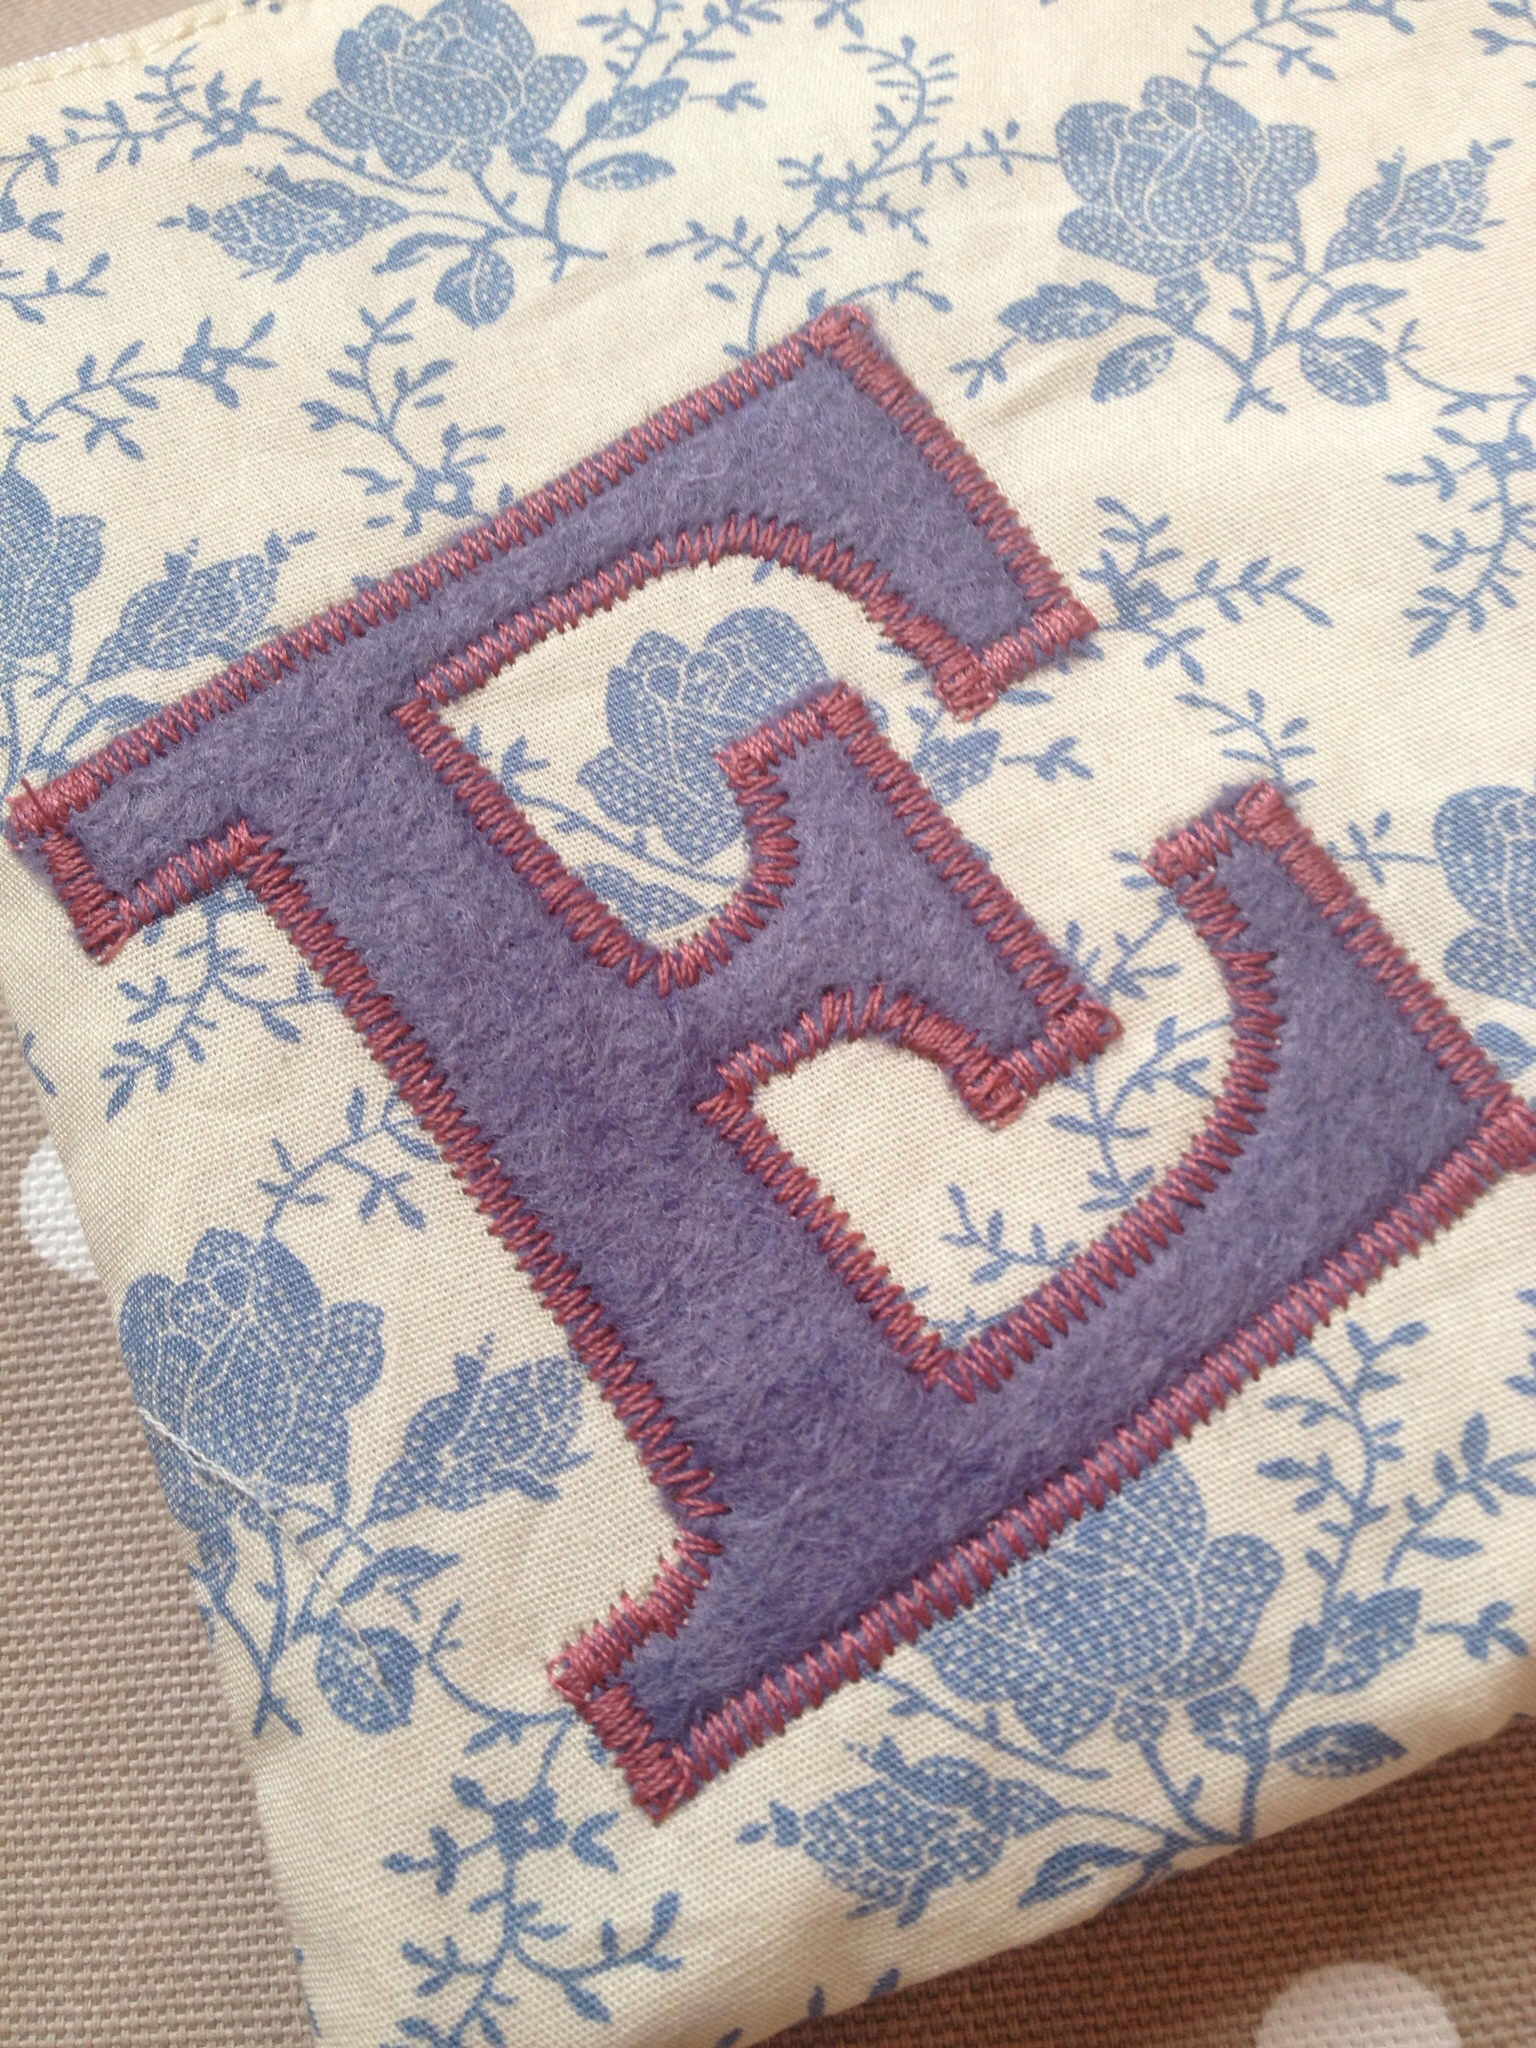
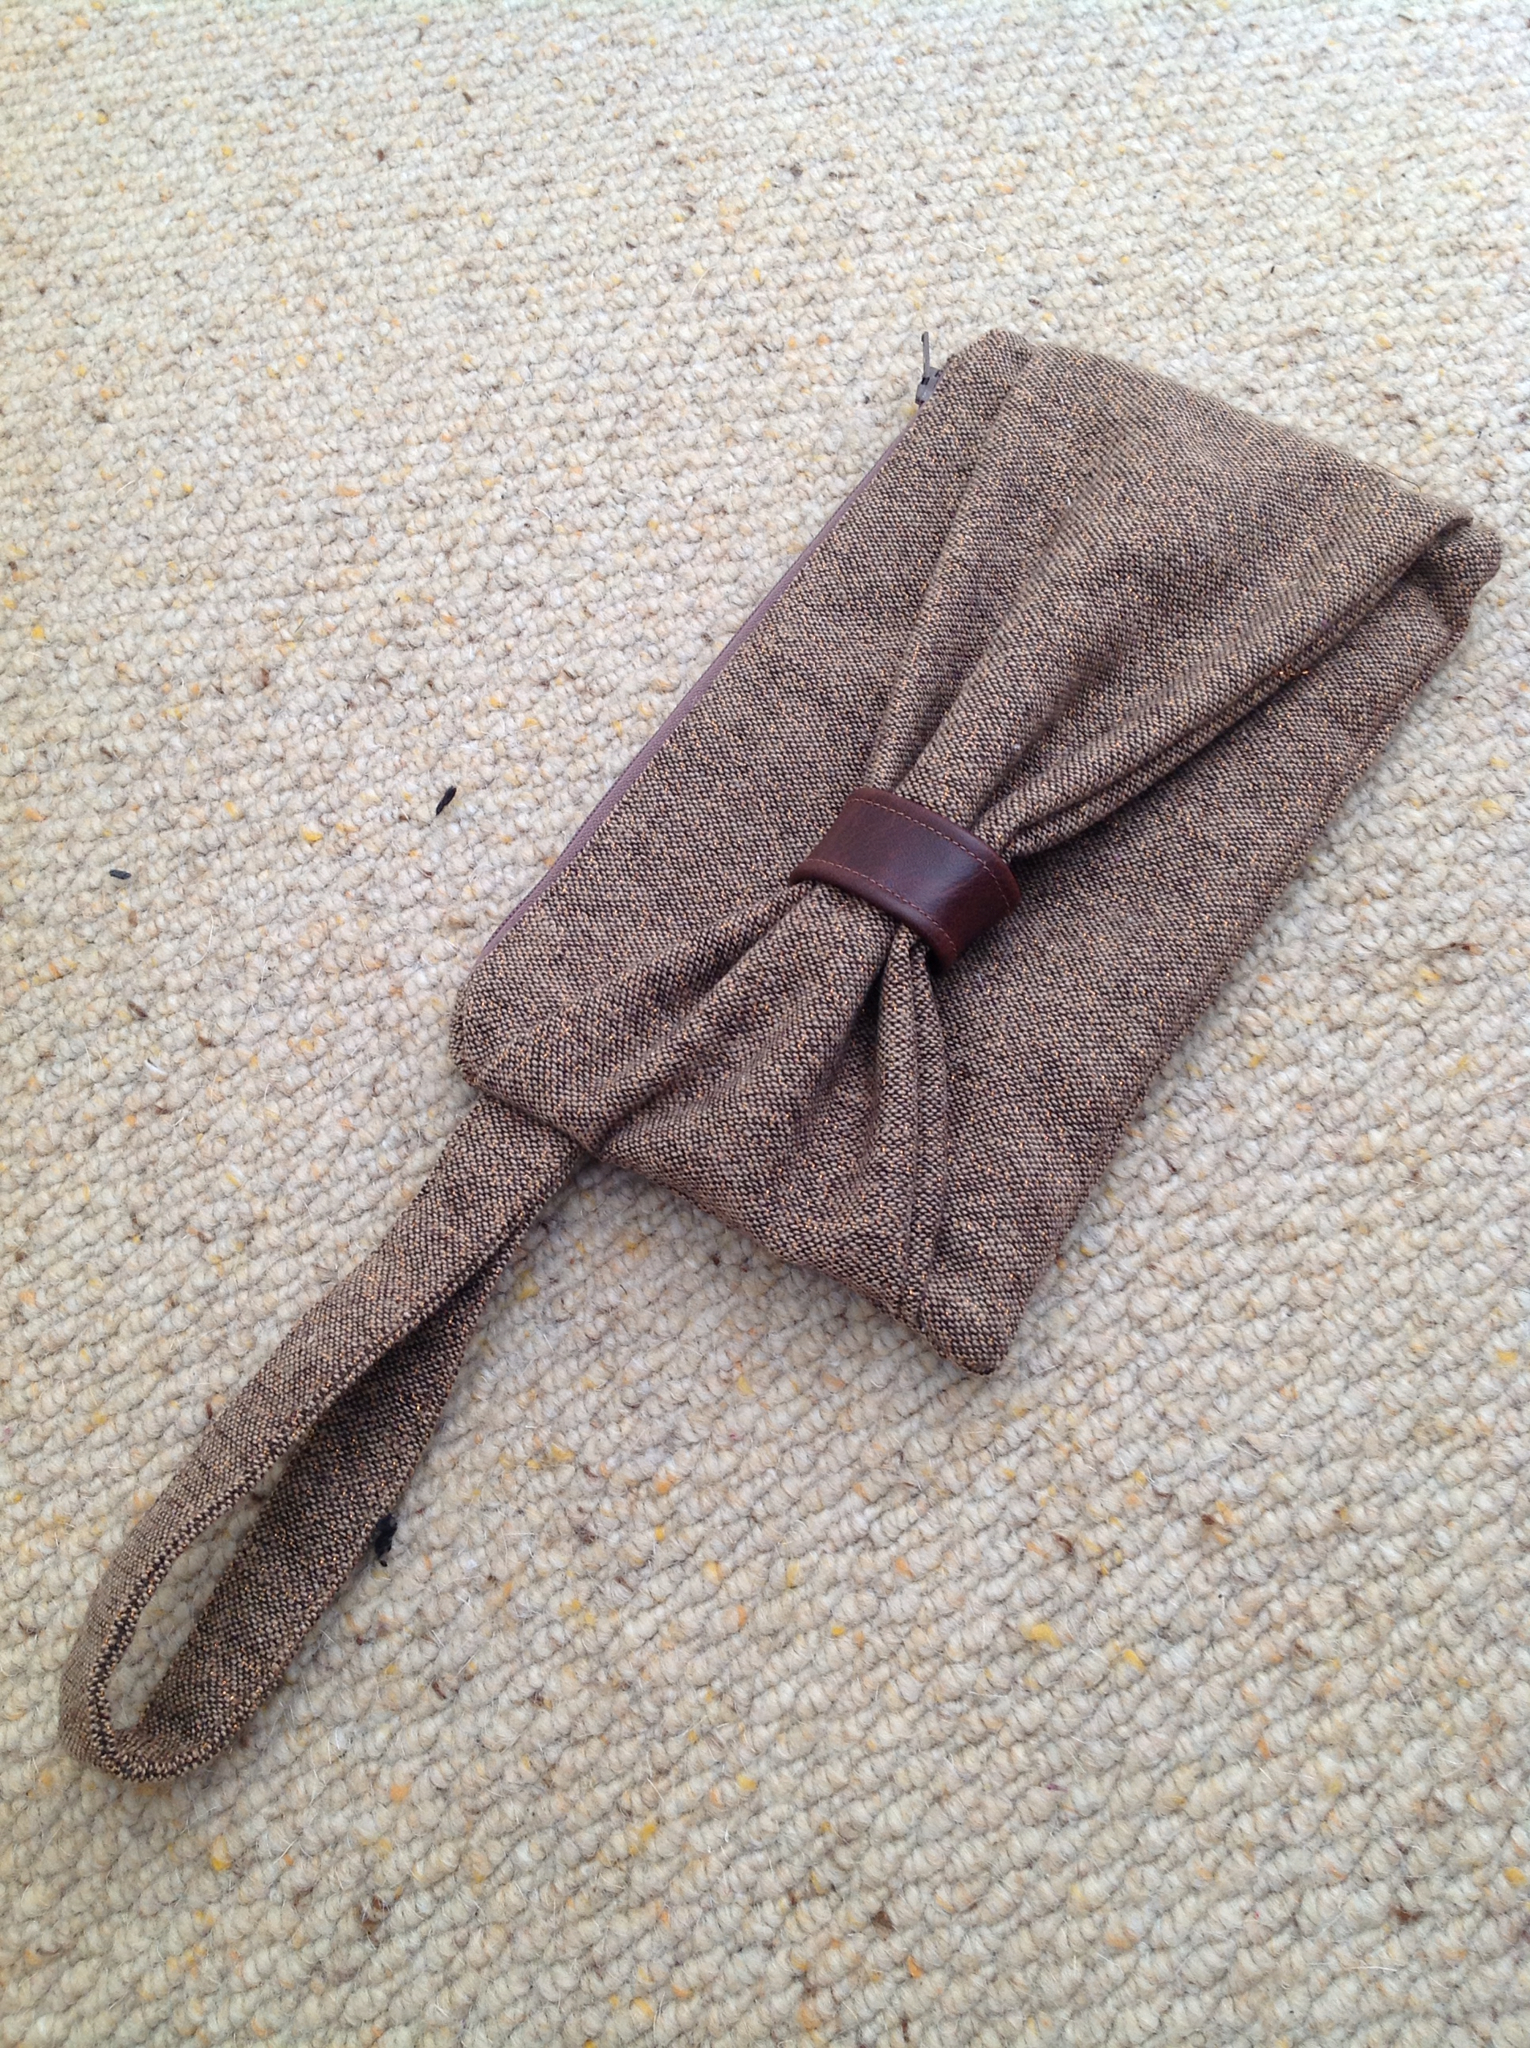
I think I'm in love...with my beautiful bow bag, it is definitely one of my most favourite makes to date! It is quite autumnal too, although I am pretty sad Summer is almost over :(

I stumbled across the great tutorial by Elm Street Life and loved the bow detail. Luckily I had some wonderful tweedy fabric from the Steampunk Crafty Creatives box 9. My favourite bit is the leather ring (also from Crafty Creatives), I was worried it would look a little funny being different from the bow fabric but I think it really brings it together.

The tutorial didn't include covered zip ends but as I had made make-up bags with them so many times (see previous post!) I pretty much made them automatically...

Et voila! 


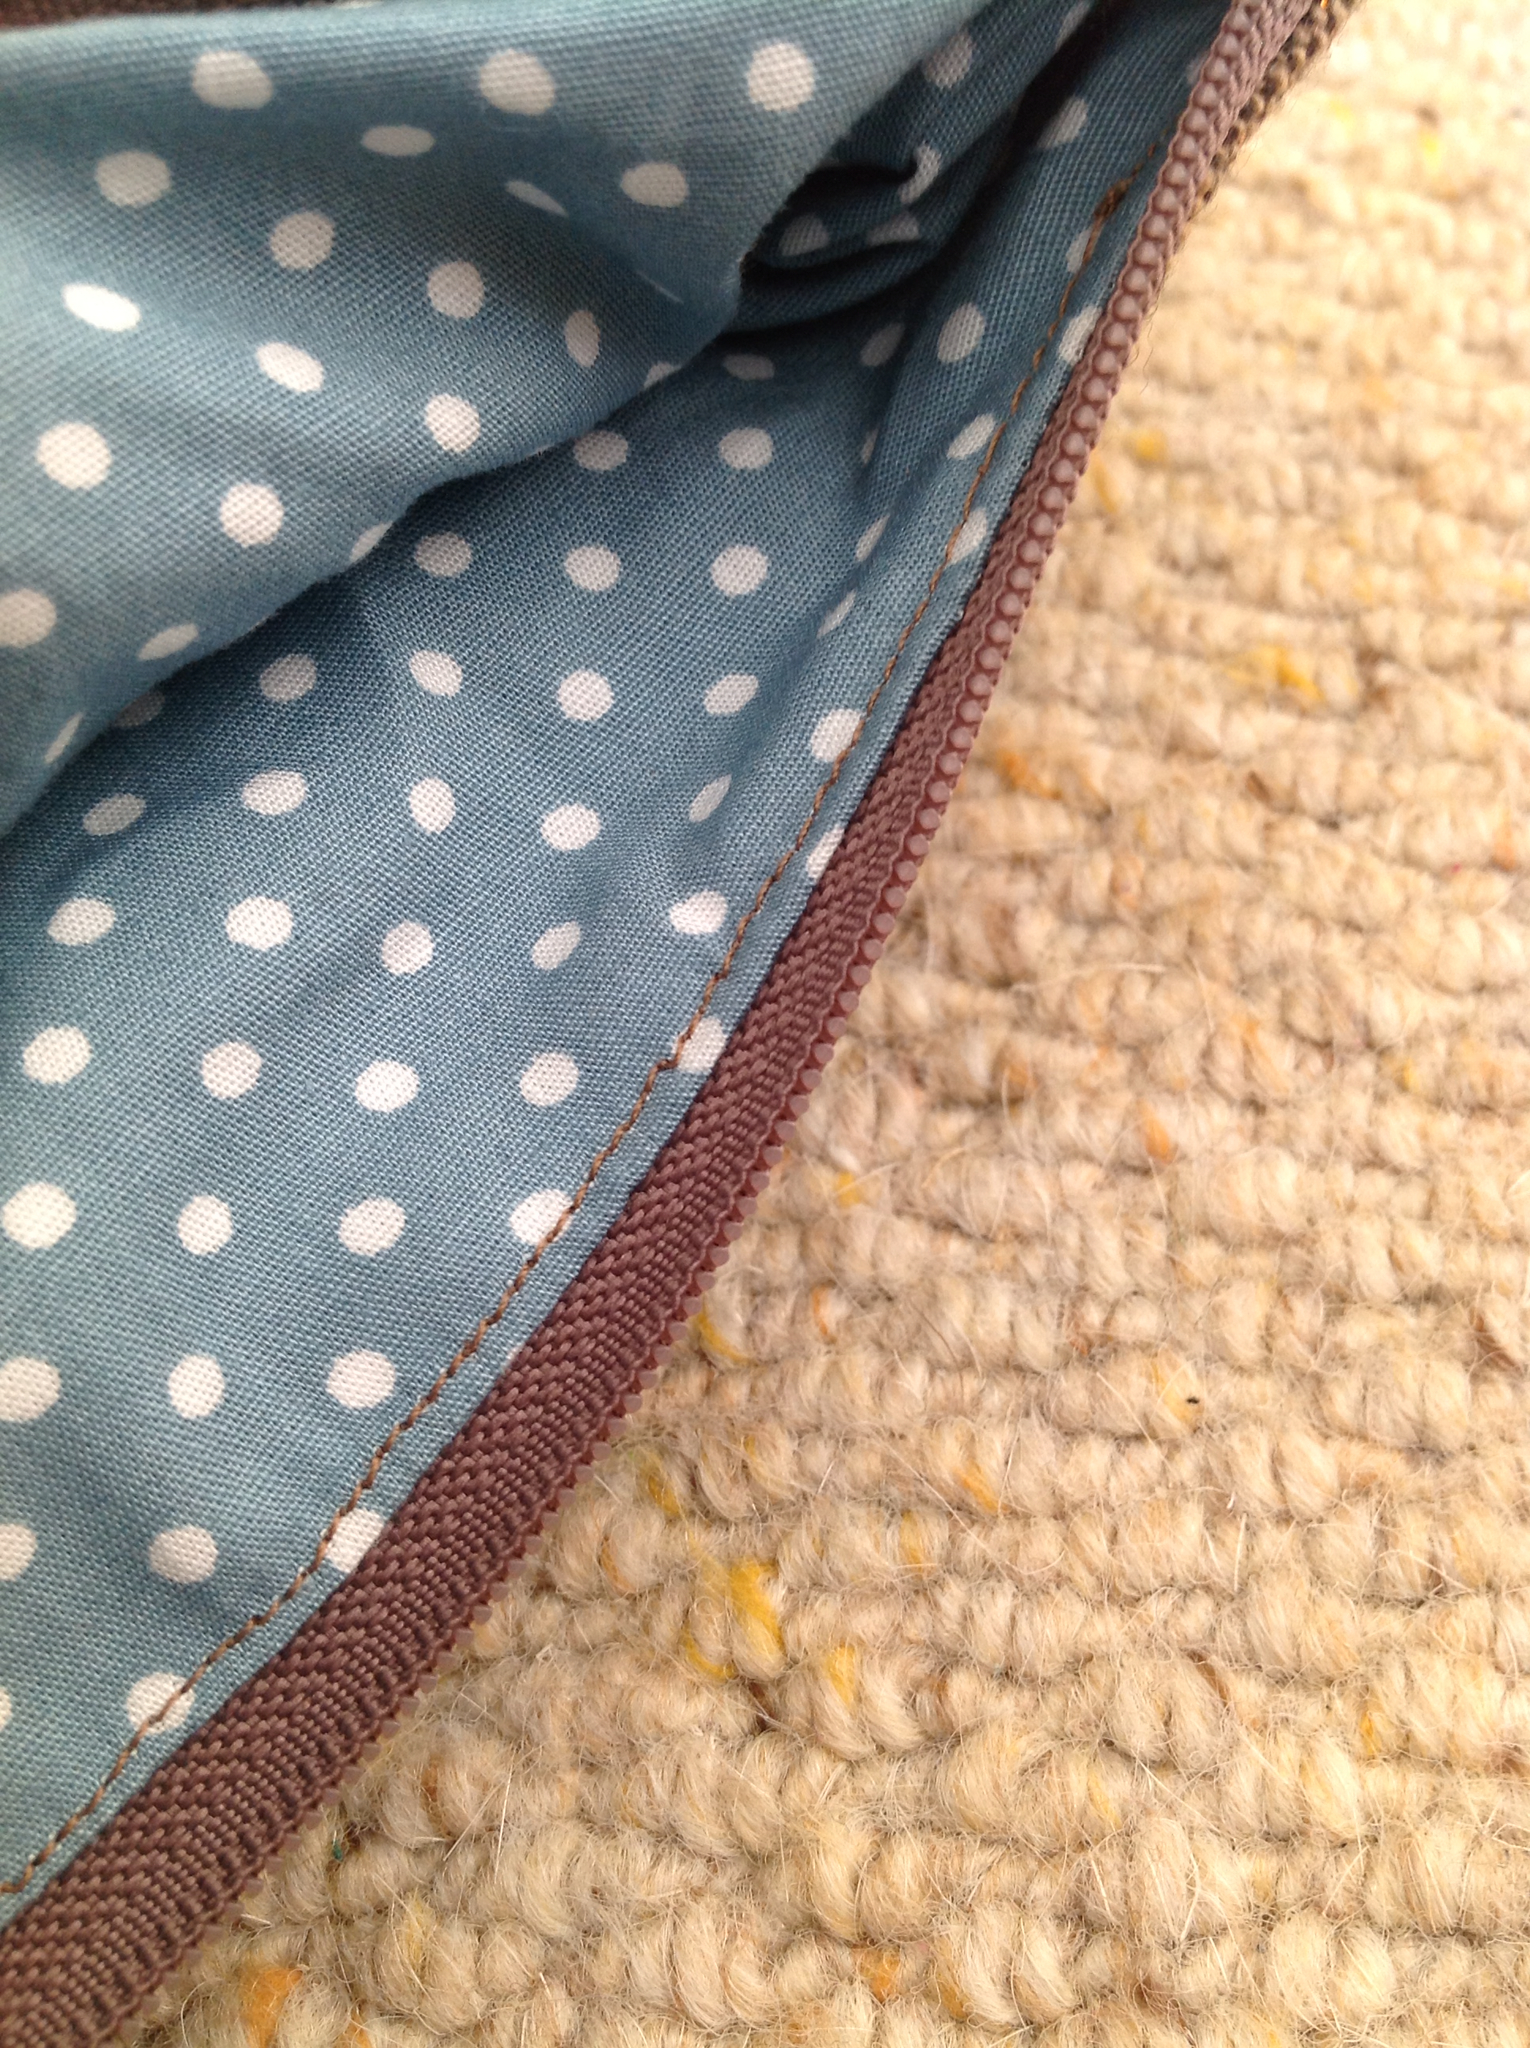
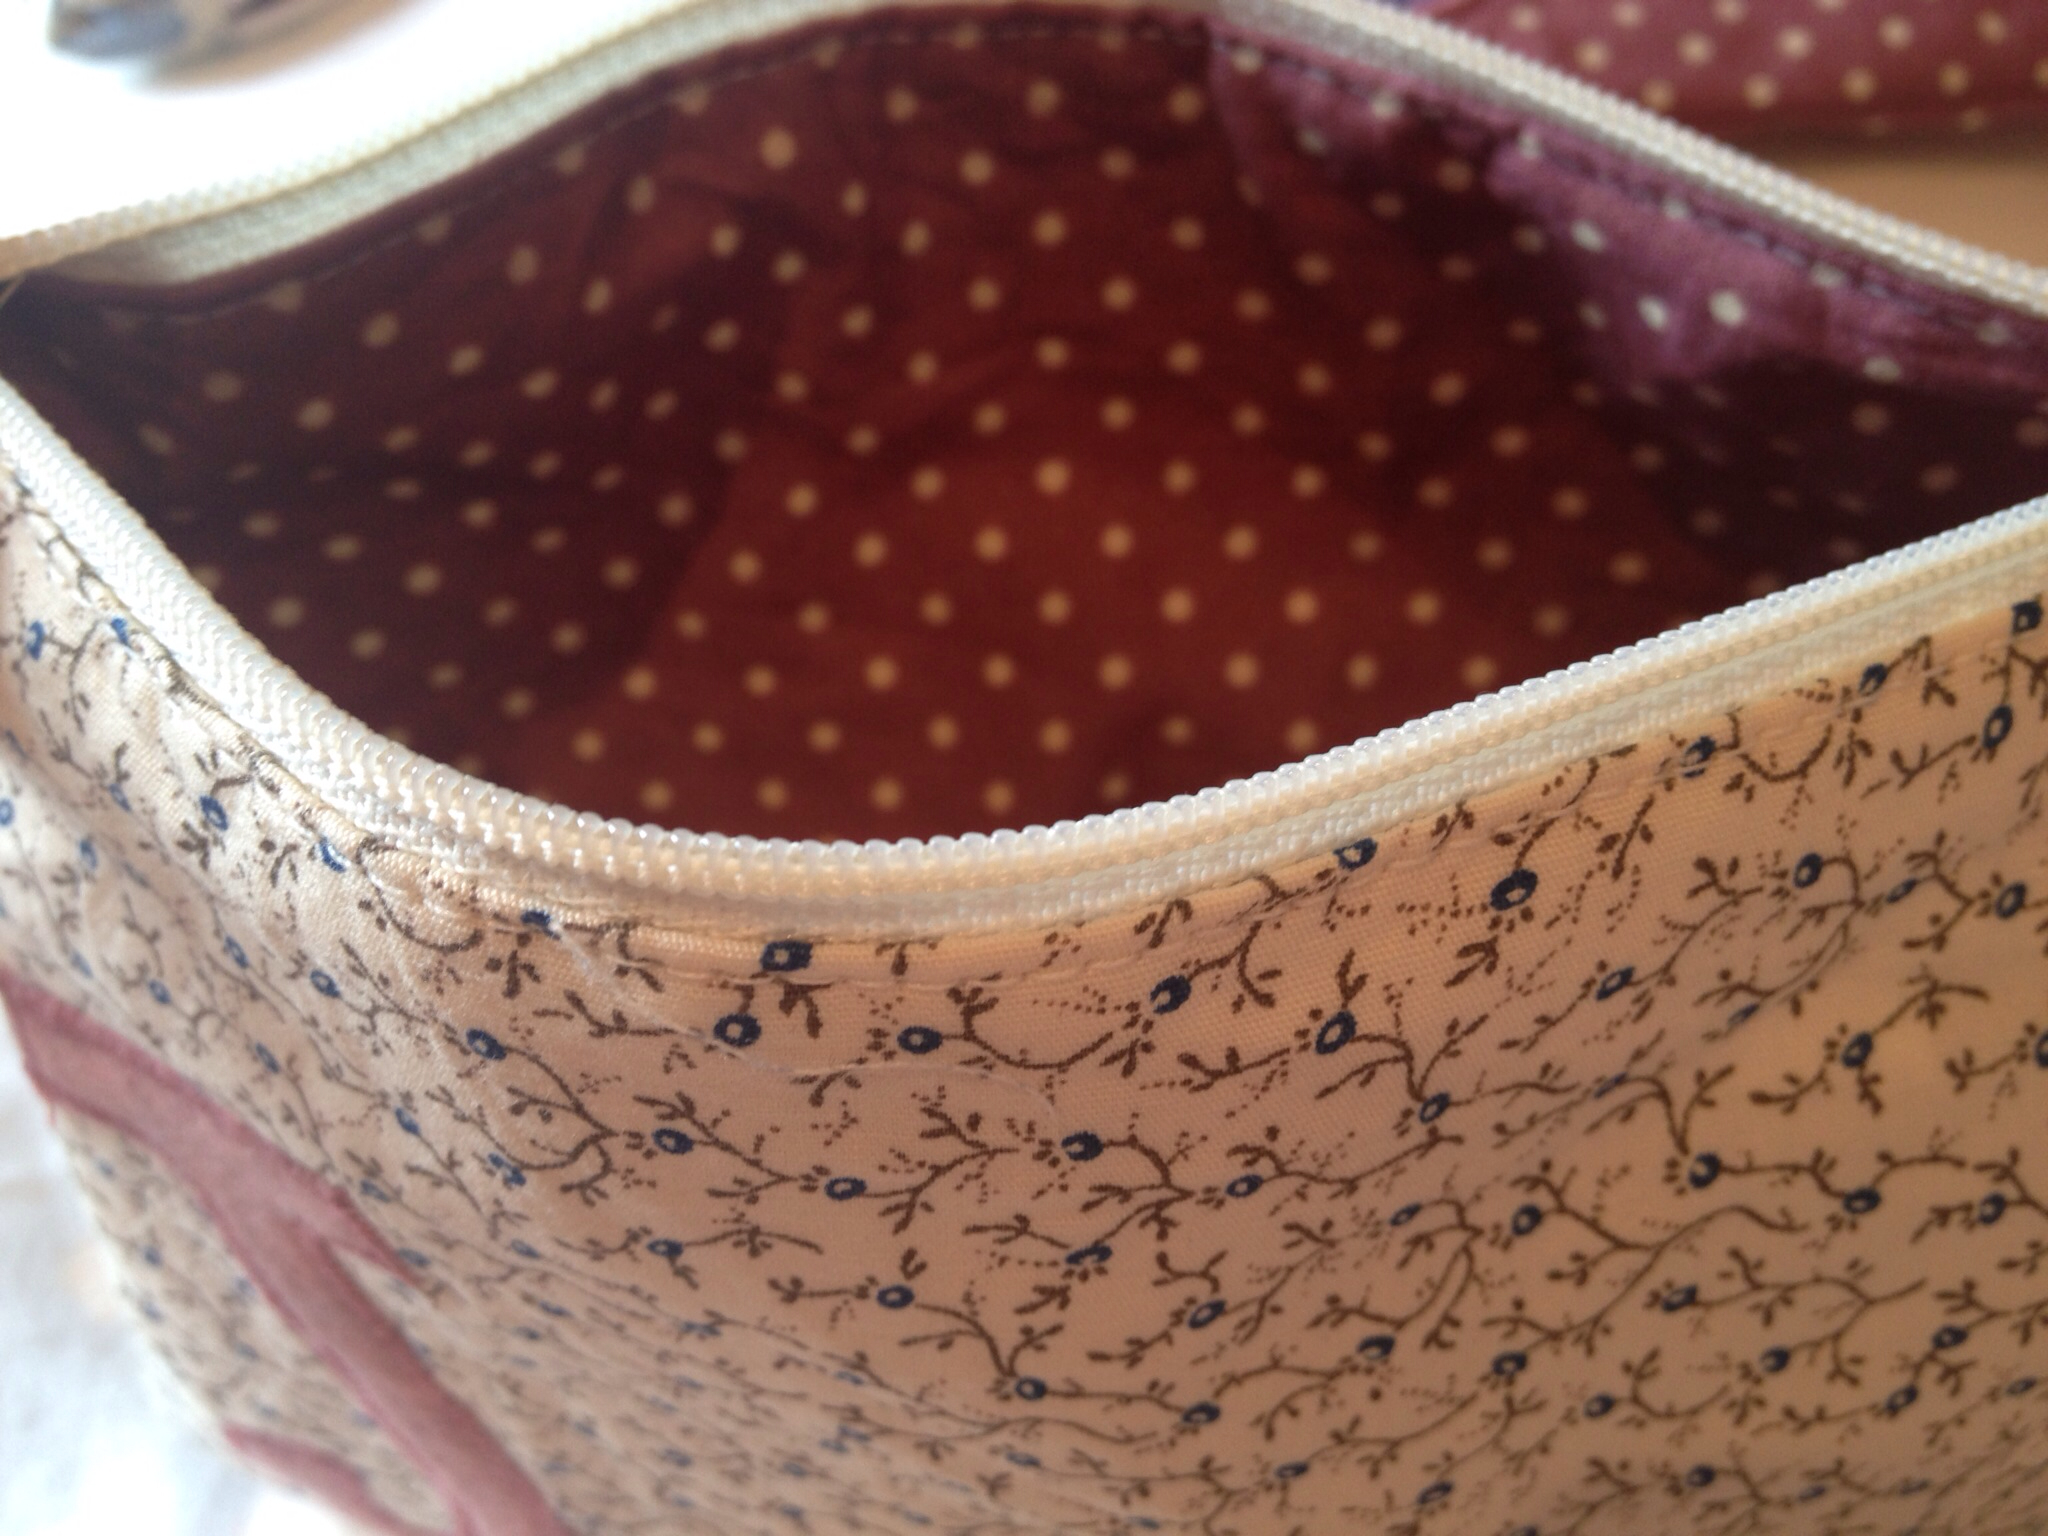
Cheeky spotty fabric lining!

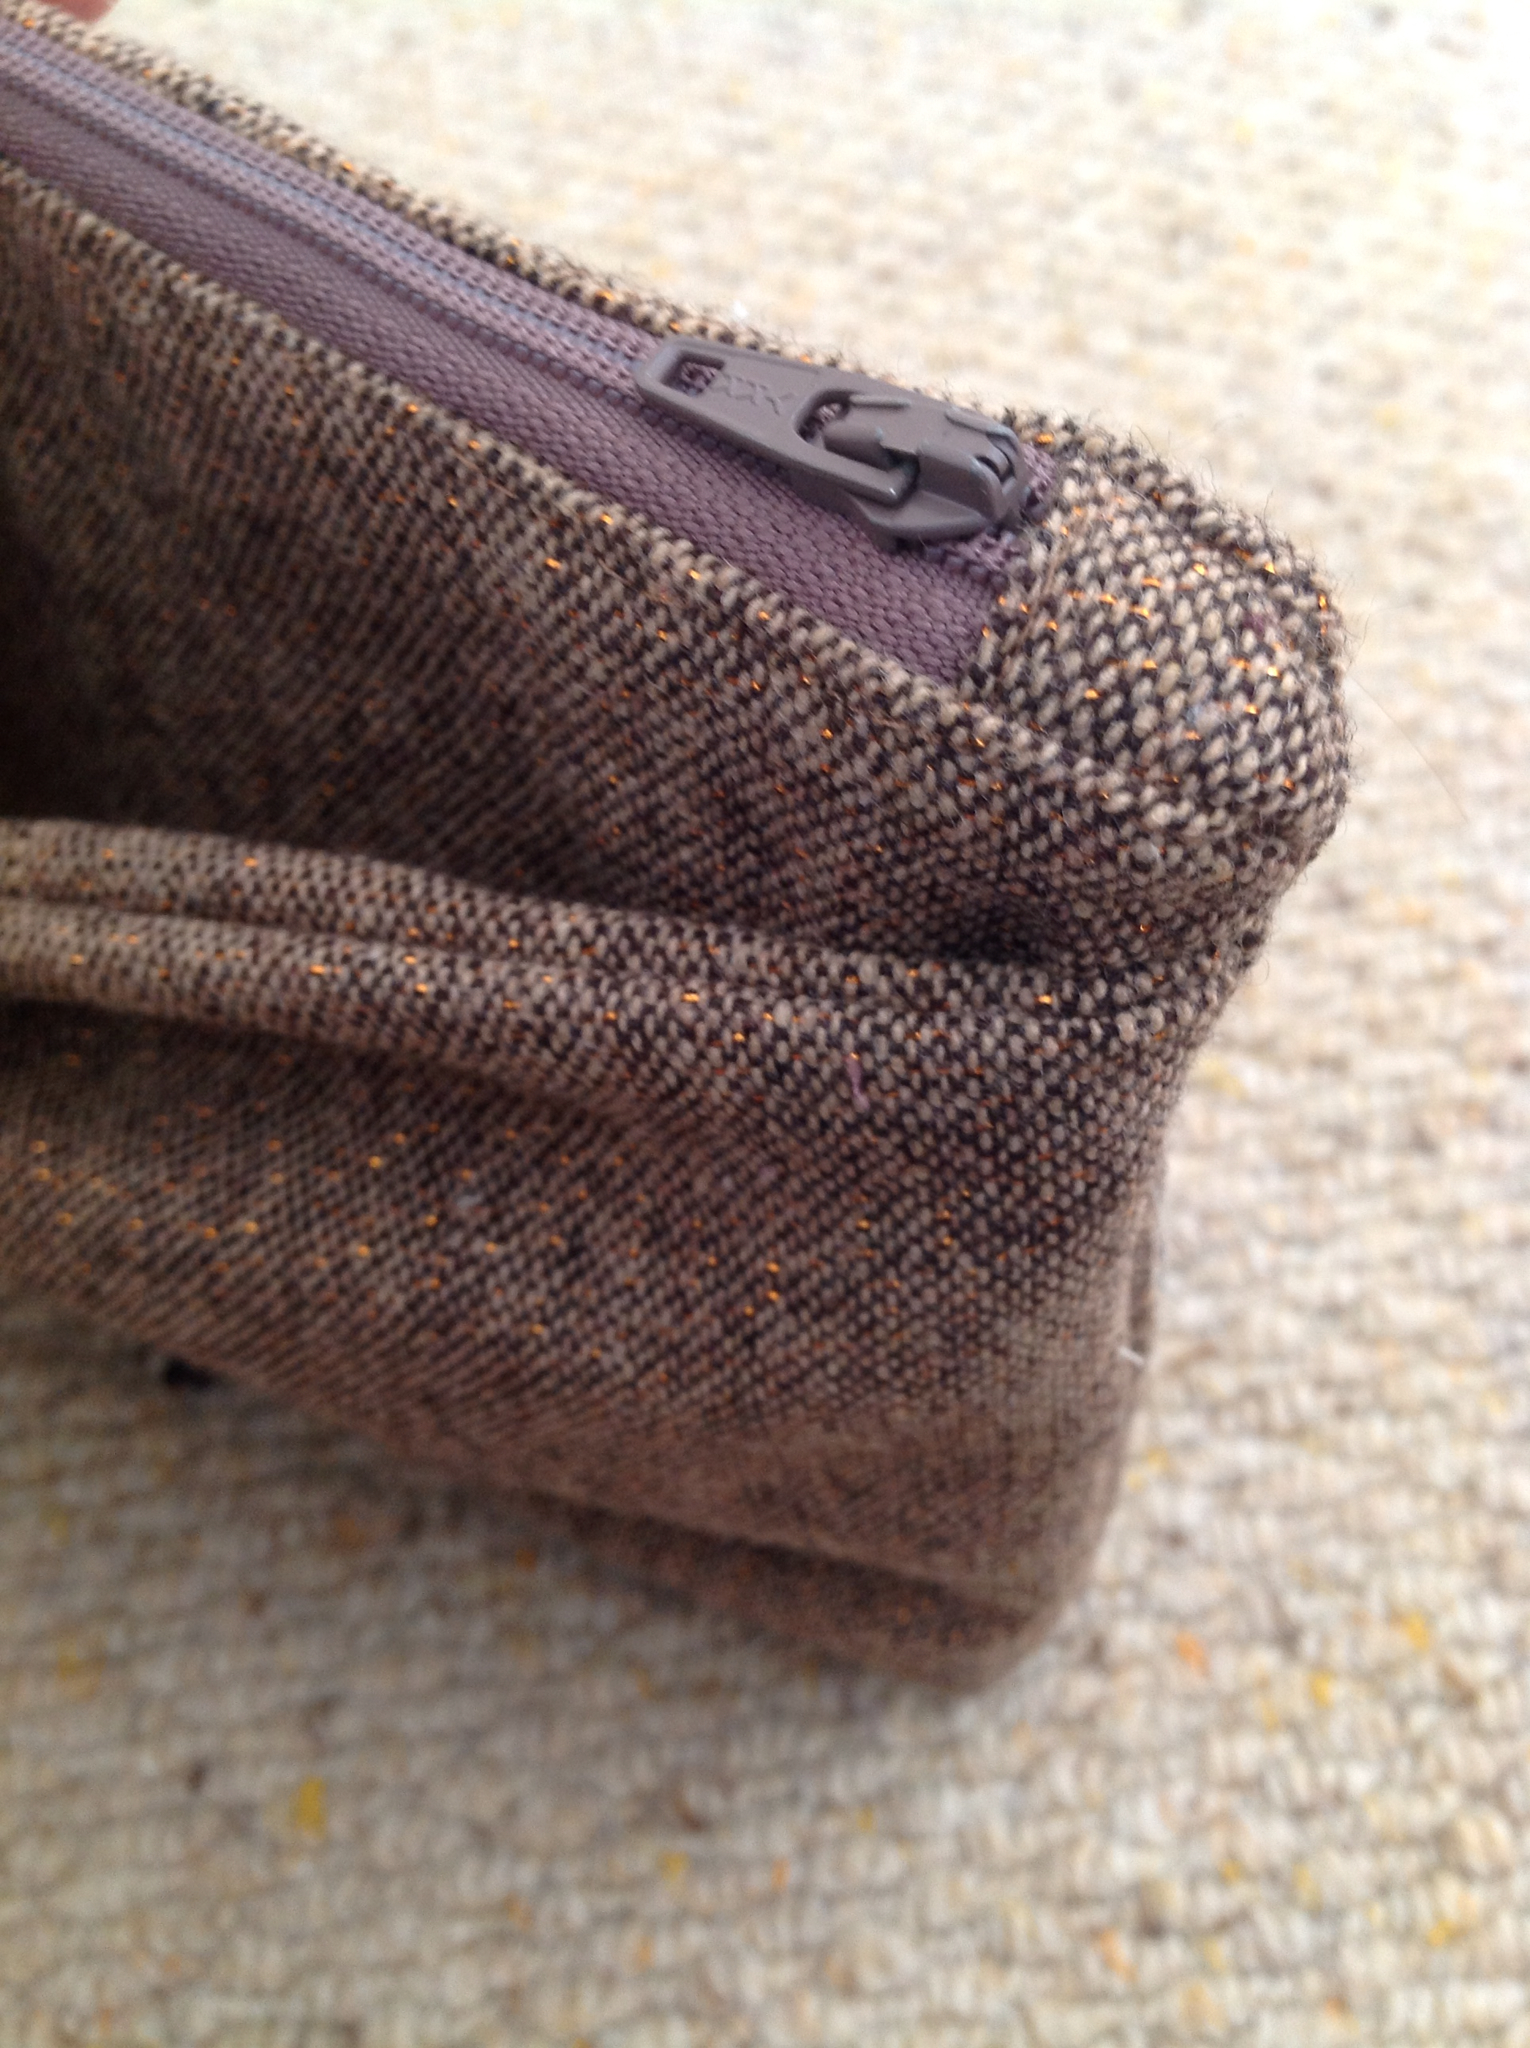
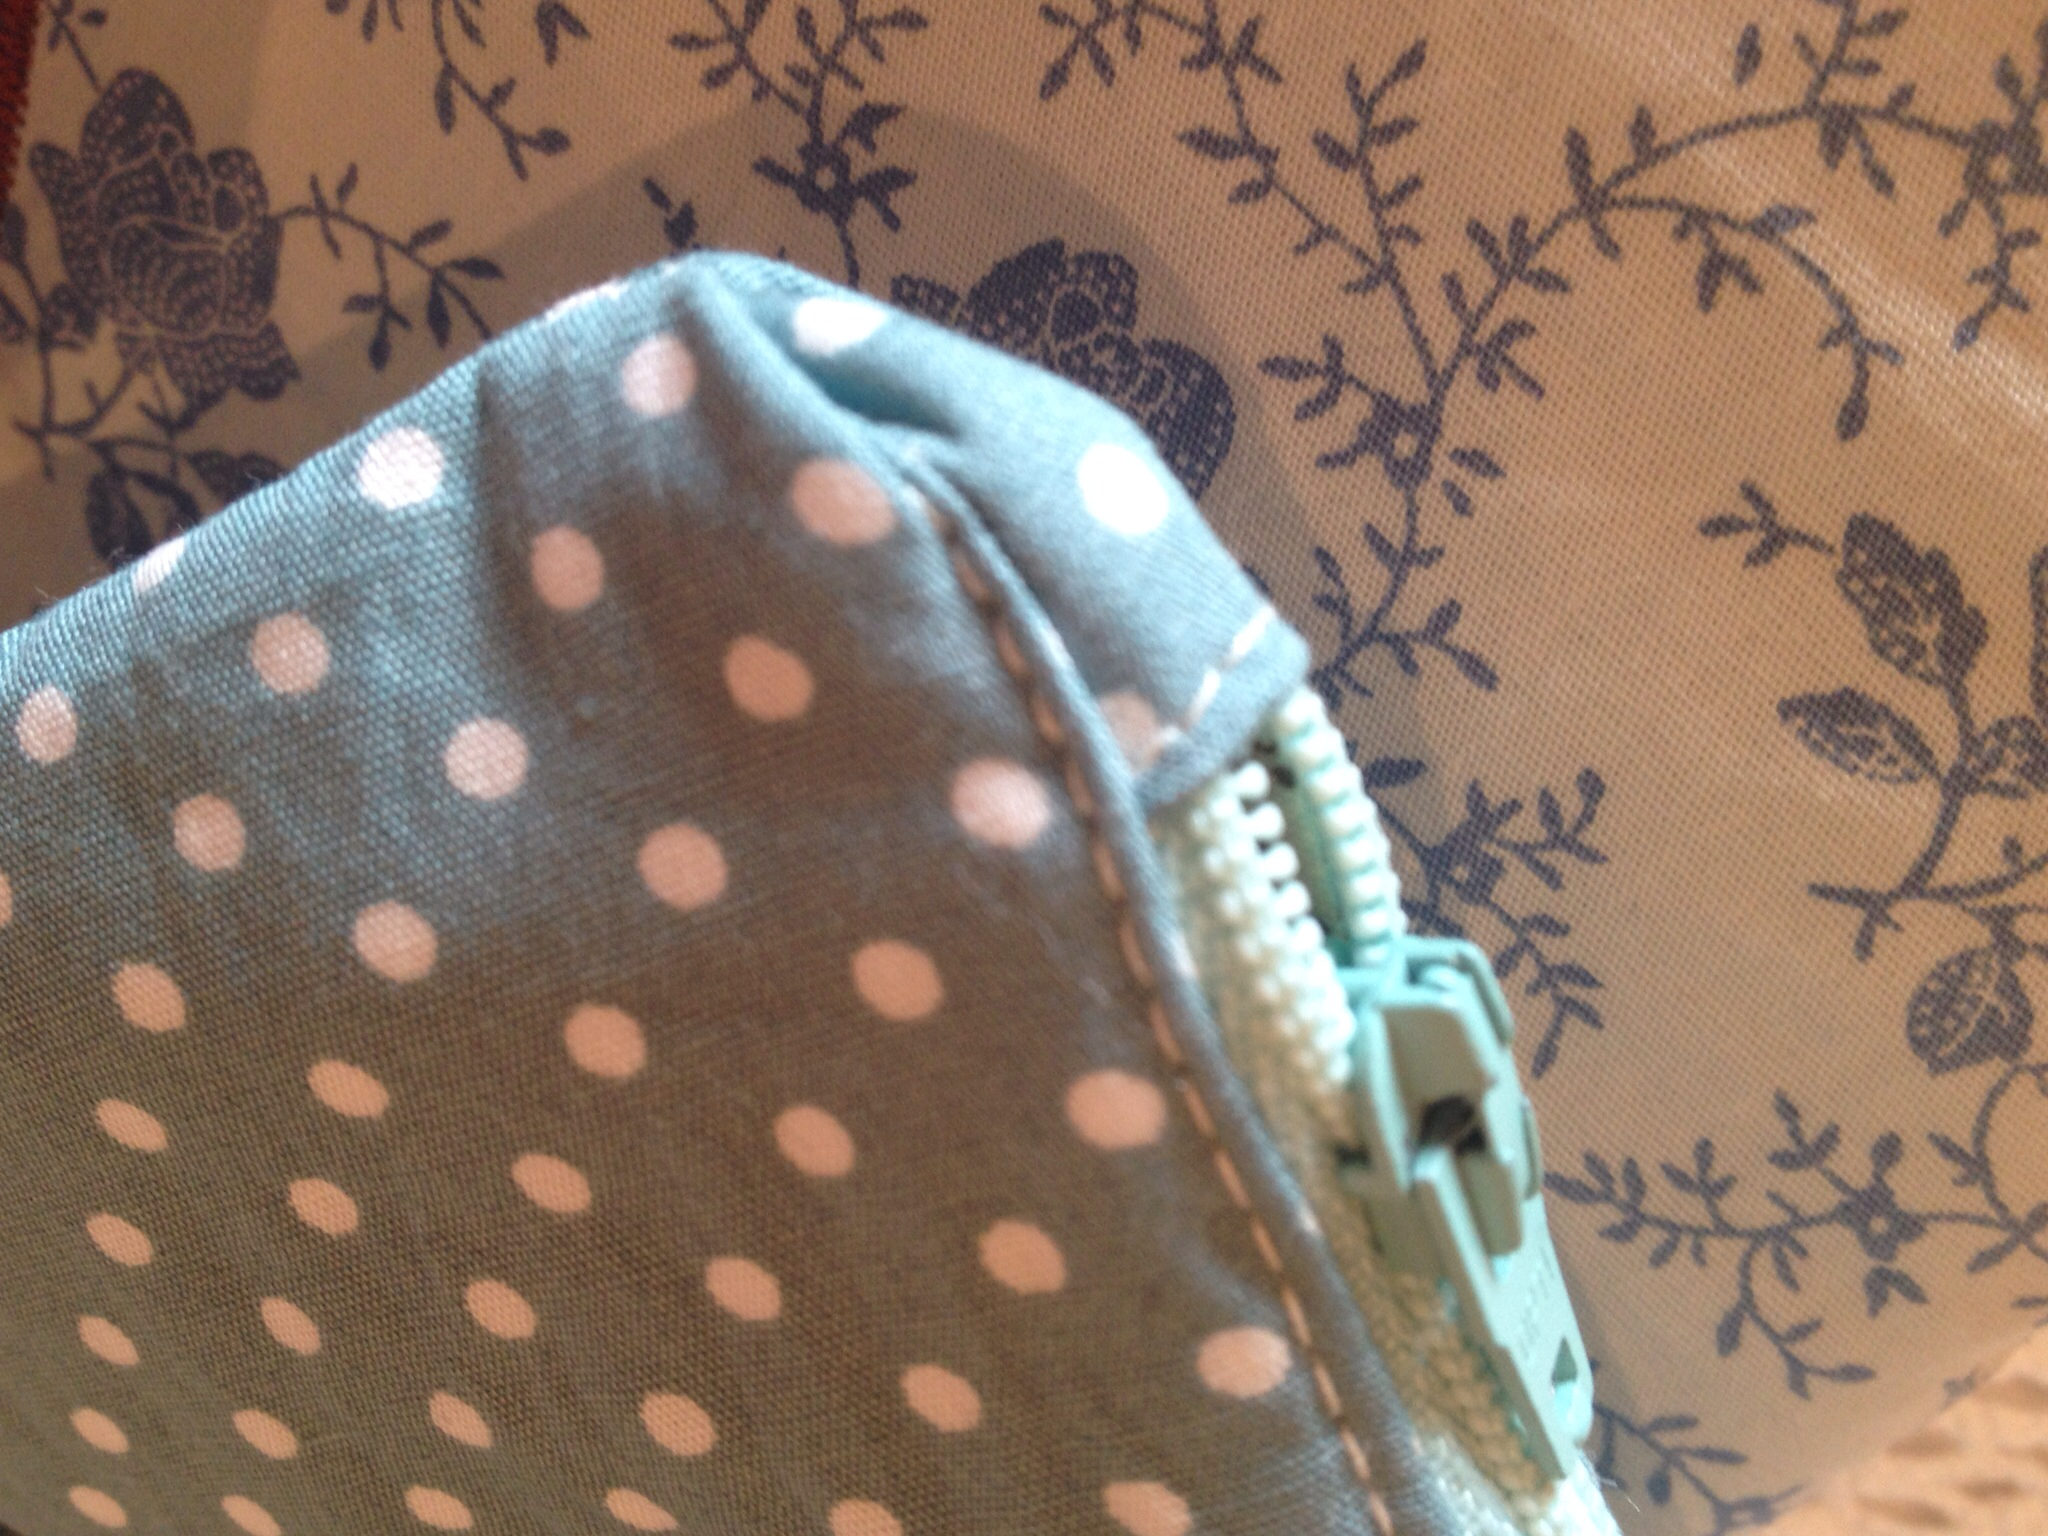
woohoo for covered zip ends!

My proud face is working overtime...the little things! xx


Tuesday 27 August 2013

Many make-up bags!

Sadly when I decided to move with my boyfriend I had to leave lots of lovely colleagues. I thought the best way to thank them for being so wonderful to work with was to make them a little present!

It was only until I was 6 personalized bags in did I realise how large our office was! 19 people in total yikes!

I made a mixture of make-up bags, bookmarks and tea-bag holders as well as 1 pair of super cute crocheted baby booties for a Mummy-to-be.

As it was a hectic challenge (I decided to do this at the last minute!) I didn't get chance to take many photos but here are a few of the make-up bags I made. I used the wonderful tutorial by Flossie Teacakes which can be found here. It was really simple and easy to follow, I just need to work on how to make my corner zips properly square, mine always come out slightly tuckered...and apologies for the creases!


Improving my appliqué skills!


Lots of Tuesday love xx


Monday 19 August 2013

Long time coasters...

Oh wow it has been almost 2 months since my last post! I know that is uber terrible but a lot has happened...I crazily just moved 312 miles from the North of the country to the South! 
So packing, packing, and unpacking just a little has kept me very busy leaving sadly not that much time for my crafting escapades...BUT I am finally settled so wahoo, back to the crafts!

So the first thing I've made are some ever practical coasters! I love the fabric which came from my first shop to a Fabricland- wahoo!!!


Now should I make a skirt or matching table mats with the rest of the fabric...ooh decisions!! 

Xx 


Saturday 22 June 2013

Tea purse!

My friend is a true tea connoisseur and always carries her much loved tea bags around with her. She usually carries them in a plastic bag so I thought I could make her a little pretty purse to carry them instead...

I adapted a pattern from a past Craftseller magazine which was an iPhone case. I really liked the bias binding and round corners which the case had so kept these but used a metal snap instead of a button (for those tea emergencies when there isn't the time to unfasten a button!). I recently bought the snap fastens on a shopping trip and was excited to try them out.

And here is what it looks like...


I was really happy with the results and the purse could be used for anything really. I also love the fabrics and felt colours and think they match beautifully.

The sewing line on the bias is a little off but at least it shows it truly is homemade and I'll get better with time...

Happy Saturday! Xx


Saturday 15 June 2013

My first quilt!

So it has been a very crafty weekend so far! My boyfriend had to work all day today which meant I could I have a full day crafting without feeling too guilty...which has resulted in my first ever quilt! I was inspired by so many blogs who make truly beautiful quilts. As all the blogs told me, I decided to start with a simple design and followed the brilliant, easy to follow, tutorial by Flossie Teacakes found here.

I just used scraps of fabrics as I was wary in case I went wrong but I'm delighted with the result! (you might recognise the backing of turquoise spots from the skirt I made last month). I cut all the panels last night and finished it today which was quite impressive...I guess it took me 10 hours in total.


I will definitely make this quilt again and would love to buy some fabric that matches a little better (I'm very jealous of the lovely ones Flossie uses in her tutorial). Also I wanted a padded quilt and thought my wadding looked quite thin so used 2 layers of it...but my sewing machine definitely didn't like this and I could only get really small uneven stitches. It also meant the squares didn't lie flat when I was sewing the panels together which meant some are quite bumpy. Next time I'll settle for just 1 layer!

Well I've definitly learnt a lot and I'm happy with my first attempt. I will also be able to now appreciate the time and effort it takes to quilt, especially the really detailed intricate designs.

And here are a few photos from the making process...


Now when can I next have a trip to the market for more fabric......xx


Friday 14 June 2013

Baby Bunting

Ooh this is the longest amount of time between posts so far, apologies but it has been a busy few weeks!

My lovely friend recently had a baby (and is my first close friend to have one so I'm super duper excited) and I'm visiting her this weekend and wanted to make her a present. As they are hoping to move houses soon they haven't decorated the nursery so I thought it might be nice to make something for them to decorate it with...and my first thought was bunting!

I wanted to personalise it so decided to spell his name out in it. I used bias binding to sandwich the triangles to give a neat finish and used various scraps of fabric for the triangles and some dark blue felt for the letters.

Annoyingly my printer wasn't working so I had to make a template for the letters ...


I then chose the fabric layout...


I decided to appliqué the letters to make sure they were secure. I'm very, VERY new to appliqué so they aren't perfect (which annoys me as I always want everything to look perfect) but practice will make perfect one day!

And here we have the final result:


Although I did make one major blunder when I started sewing the letters on...can you tell what I did?

I started sewing them on backwards!! Luckily I realised at the second letter as I don't think they would have appreciated LEAHCIM!

Hope she likes it! Xx


Sunday 2 June 2013

Crochet blanket!

So as ever I saw a crochet blanket and thought....I want to make one of those!

It took me a while reading many tutorials and watching many YouTube videos but I got there in the end! It is my first crochet project so I had to learn all of the basics. I chose to make a Granny Square blanket so I could make it on the move and break it down in to little squares so it wouldn't feel so daunting. The squares are so simple to make and now each one takes me 20 minutes and is great to do whilst watching the tv. However I definitely must hold my wool in a funny way as it does give me a cramp (which I've nicknamed the Crochet Claw!). I chose to use dusky pink, mint green and white wools and edge them in brown. I hope to edge it in the brown wool too to bring it all together...that will have to be more youtubing to work out how to edge it nicely!

It's going to take me a while before I finish it but I thought it might be nice to document the project half way through. And here it is so far: 


I haven't yet started sewing in the wool ends but I probably should or that will be a mammoth task at the end! I'm really glad I broke it in to squares as my friend is making a continuous square and it now takes her a couple of hours to do one row, it does look lovely but I find it hard to stop crafting once I start so would never be able to stop mid row!

I want to make it in to a real cosy blanket so think it needs to be double the current size. It also looks horrible against the peach sofa but think it would look lovely one a nice cream one (sigh, well one day I will hopefully be able to buy my own house and furniture!).

I'll let you know when I finish! Xx